Since more and more of the current technologies tend to rely on cloud services, Fast2 now upgrades with the addition of new modules dedicated to AWS: an extractor (which purpose is to retrieve data from an S3 bucket), and an injector (focusing on importing new files into S3 buckets).
For those not already familiar with this ETL, you will just need to keep in mind that Fast2 handles high volumetry migrations in two steps at least: first the extraction of the content, then the transformation of the metadata (optional), and finally the loading of the processed files into the destination storage.
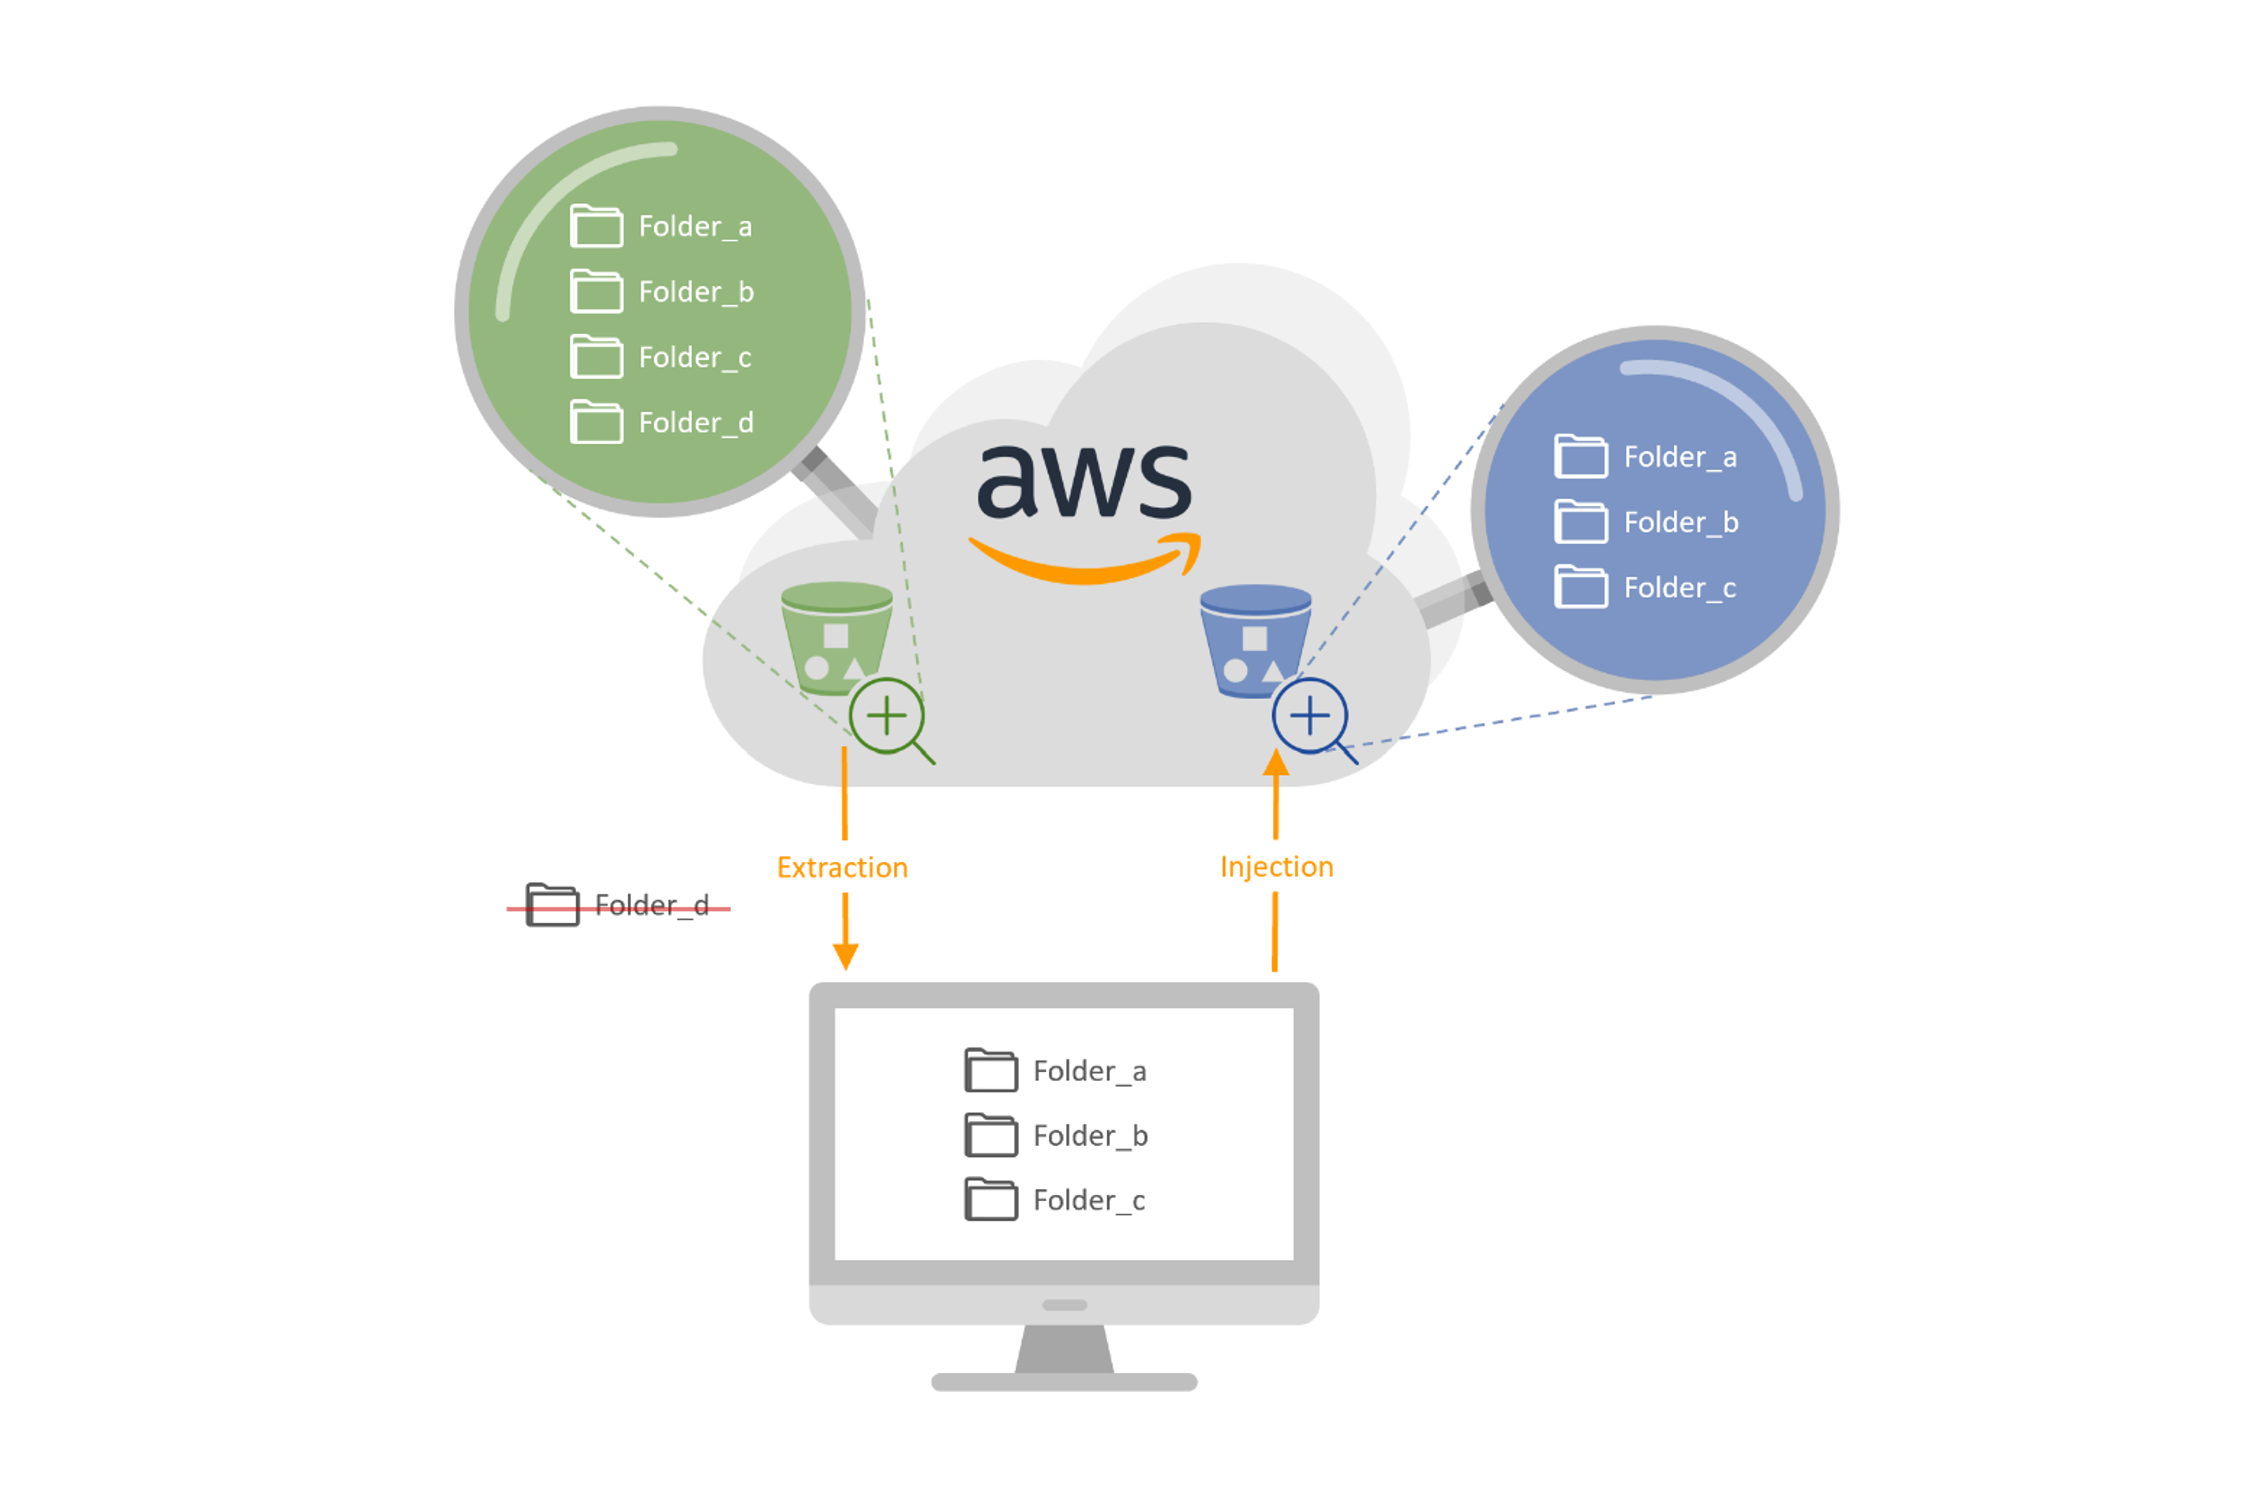
To help you get through the basic principles of such Fast2 features, let’s consider we have 3 folders out of 4 to extract from one bucket (the green one on the schema below), and inject the files of these folders into a second bucket (the one in blue). No metadata processing will be performed, given the homogeneity of the two storages. Besides, the same AWS credentials will be used.
Without further ado, let’s dive into it!
Map creation
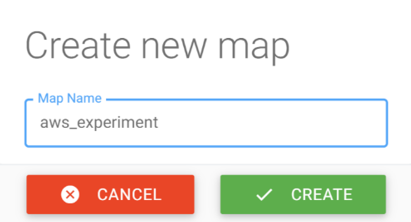
Once you reach the UI of your Fast2 service, you will be able to choose some tasks from the catalog to build your migration workflow. But first things first, let’s create a new Fast2 map. We’ll call this map “aws_experiment”.
Once the map is created, we need to add the tasks from the left-side catalog. Two distinct tasks will hold our attention – as we said earlier –, both the AwsExtractor and the AwsInjector.
AWS Extractor
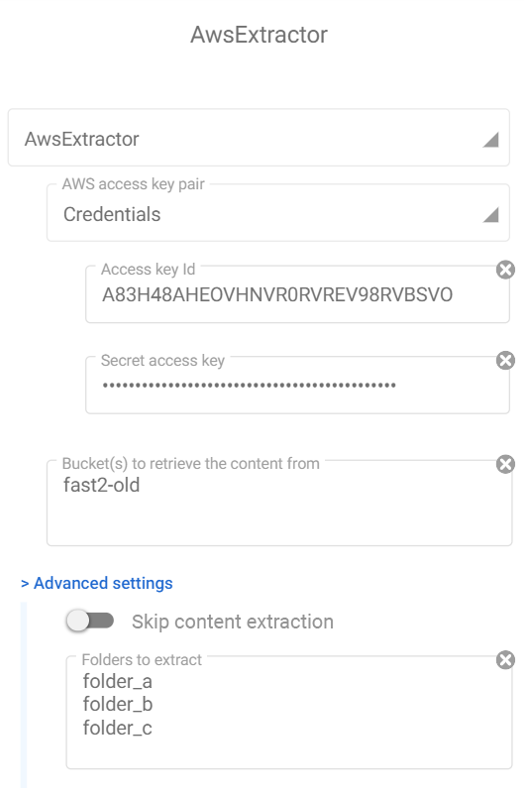
In our case, the AwsExtractor task will be the first step. Straight to the configuration area of this extractor, some fields require particular interest:
- The AWS access key pair: assuming you know about S3 permissions at a user level (For more information, please visit AWS documentation), this pair consists of the access key id and the secret access key of a S3-full-access-granted profile.
- The bucket(s) names to extract the content. It’s required to mention at least one name (for more buckets, convention is one bucket name per line).
- The field “Skip content extraction” can be useful for metadata extraction, for day-checks, or just inventory. We won’t use it here (leaving it unchecked).
- The list of the folders to extract: if left empty, Fast2 will process all the folders referenced in the given bucket. For multiple folders, the same convention stands: one line per item
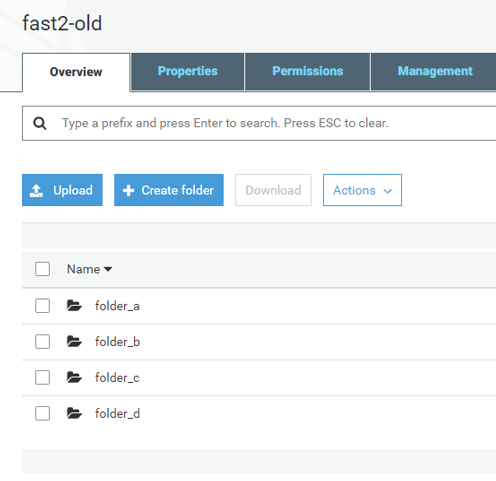
Our study focuses on a bucket entitled “fast2-old”, containing 4 folders (as you will see on the scheme at the end of this tutorial):
- folder_a,
- folder_b,
- folder_c,
- folder_d.
However, we will not deal with the latest, for the sake of this scenario.
In the end, the configuration of the AWS extractor task will look like on the screenshot above.
AWS injector
Since no metadata will be processed, let’s focus on the injection. The Fast2 task for doing so is the AwsInjector. Since it targets the same service (AWS S3), you’ll be able to fill most of the configuration fields right away! But let’s review them quickly for you to be sure.
- The access key pair (already detailed in the first section)
- Create destination bucket: if you wish to create a dedicated bucket, you can let Fast2 handle it, by leaving this field to “checked”. If your destination bucket does exist, untick this option (WARNING: if this option is not checked and your destination bucket does not exist either, Fast2 will throw an error).
- Destination bucket: Mention here the name of the bucket where you want the migrated files to be. This field is mandatory. Left as is and the files will be accessible from a created “fast2-default” bucket.
- Folder where to store the documents: if you decide to order differently the destination bucket, feel free to fill this. If left empty, Fast2 will store the files at the root of the given bucket.
- Dry run option: this option allows you to simulate an injection. Fast2 will perform all the processing and checks, but will stop just before the last stage: the proper injection.
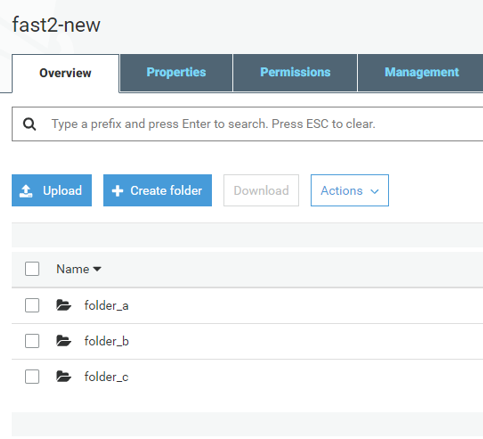
We will ask Fast2 to migrate the files into a bucket named “fast2-new”, and let the ETL take care of the creation of such a bucket on its own.
Finally, the configuration of the injector will shape up as you can see just below:

Let’s execute the campaign
Now that the hardest parts are completed, we just need to link those 2 tasks, and the workflow design part is over.
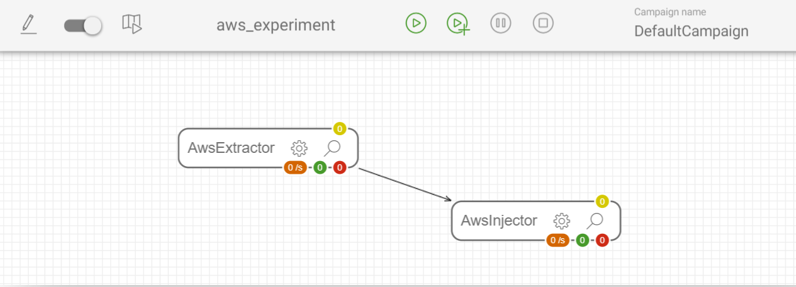
Then when you will run the Fast2 map, the extraction will immediately be followed by the upload of the files present in the old bucket. The files will be duplicated, the original copies stay in the original bucket. Fast2 does not handle the suppression.
If you check the created bucket, you will see that no “folder_d” has been migrated, nor its content (as shown below).
And that’s it!! Now you know how to master Fast2 for S3-related migrations!!
⚠️ Disclaimer
Differences in either look-n-feel of the migration tool or task configuration may vary depending on the Fast2 version you might be using.