
Fast2 can connect to a Nuxeo and inject documents into it. With very little information given, your files, metadata and annotations will be added to your Nuxeo instance. Any requirement? No, excepting an access and an account with write access.
Configuration
To use this connector, your first need is to configure it.
The only mandatory information are the connection settings. With these settings Fast2 should access a profil with enough rights to read and write into Nuxeo.
Selecting the NuxeoConnectionProvider in the task configuration, you have to provide:
- The URL to access to your instance
- A login of an account allowing to write into Nuxeo
- A password of the corresponding account
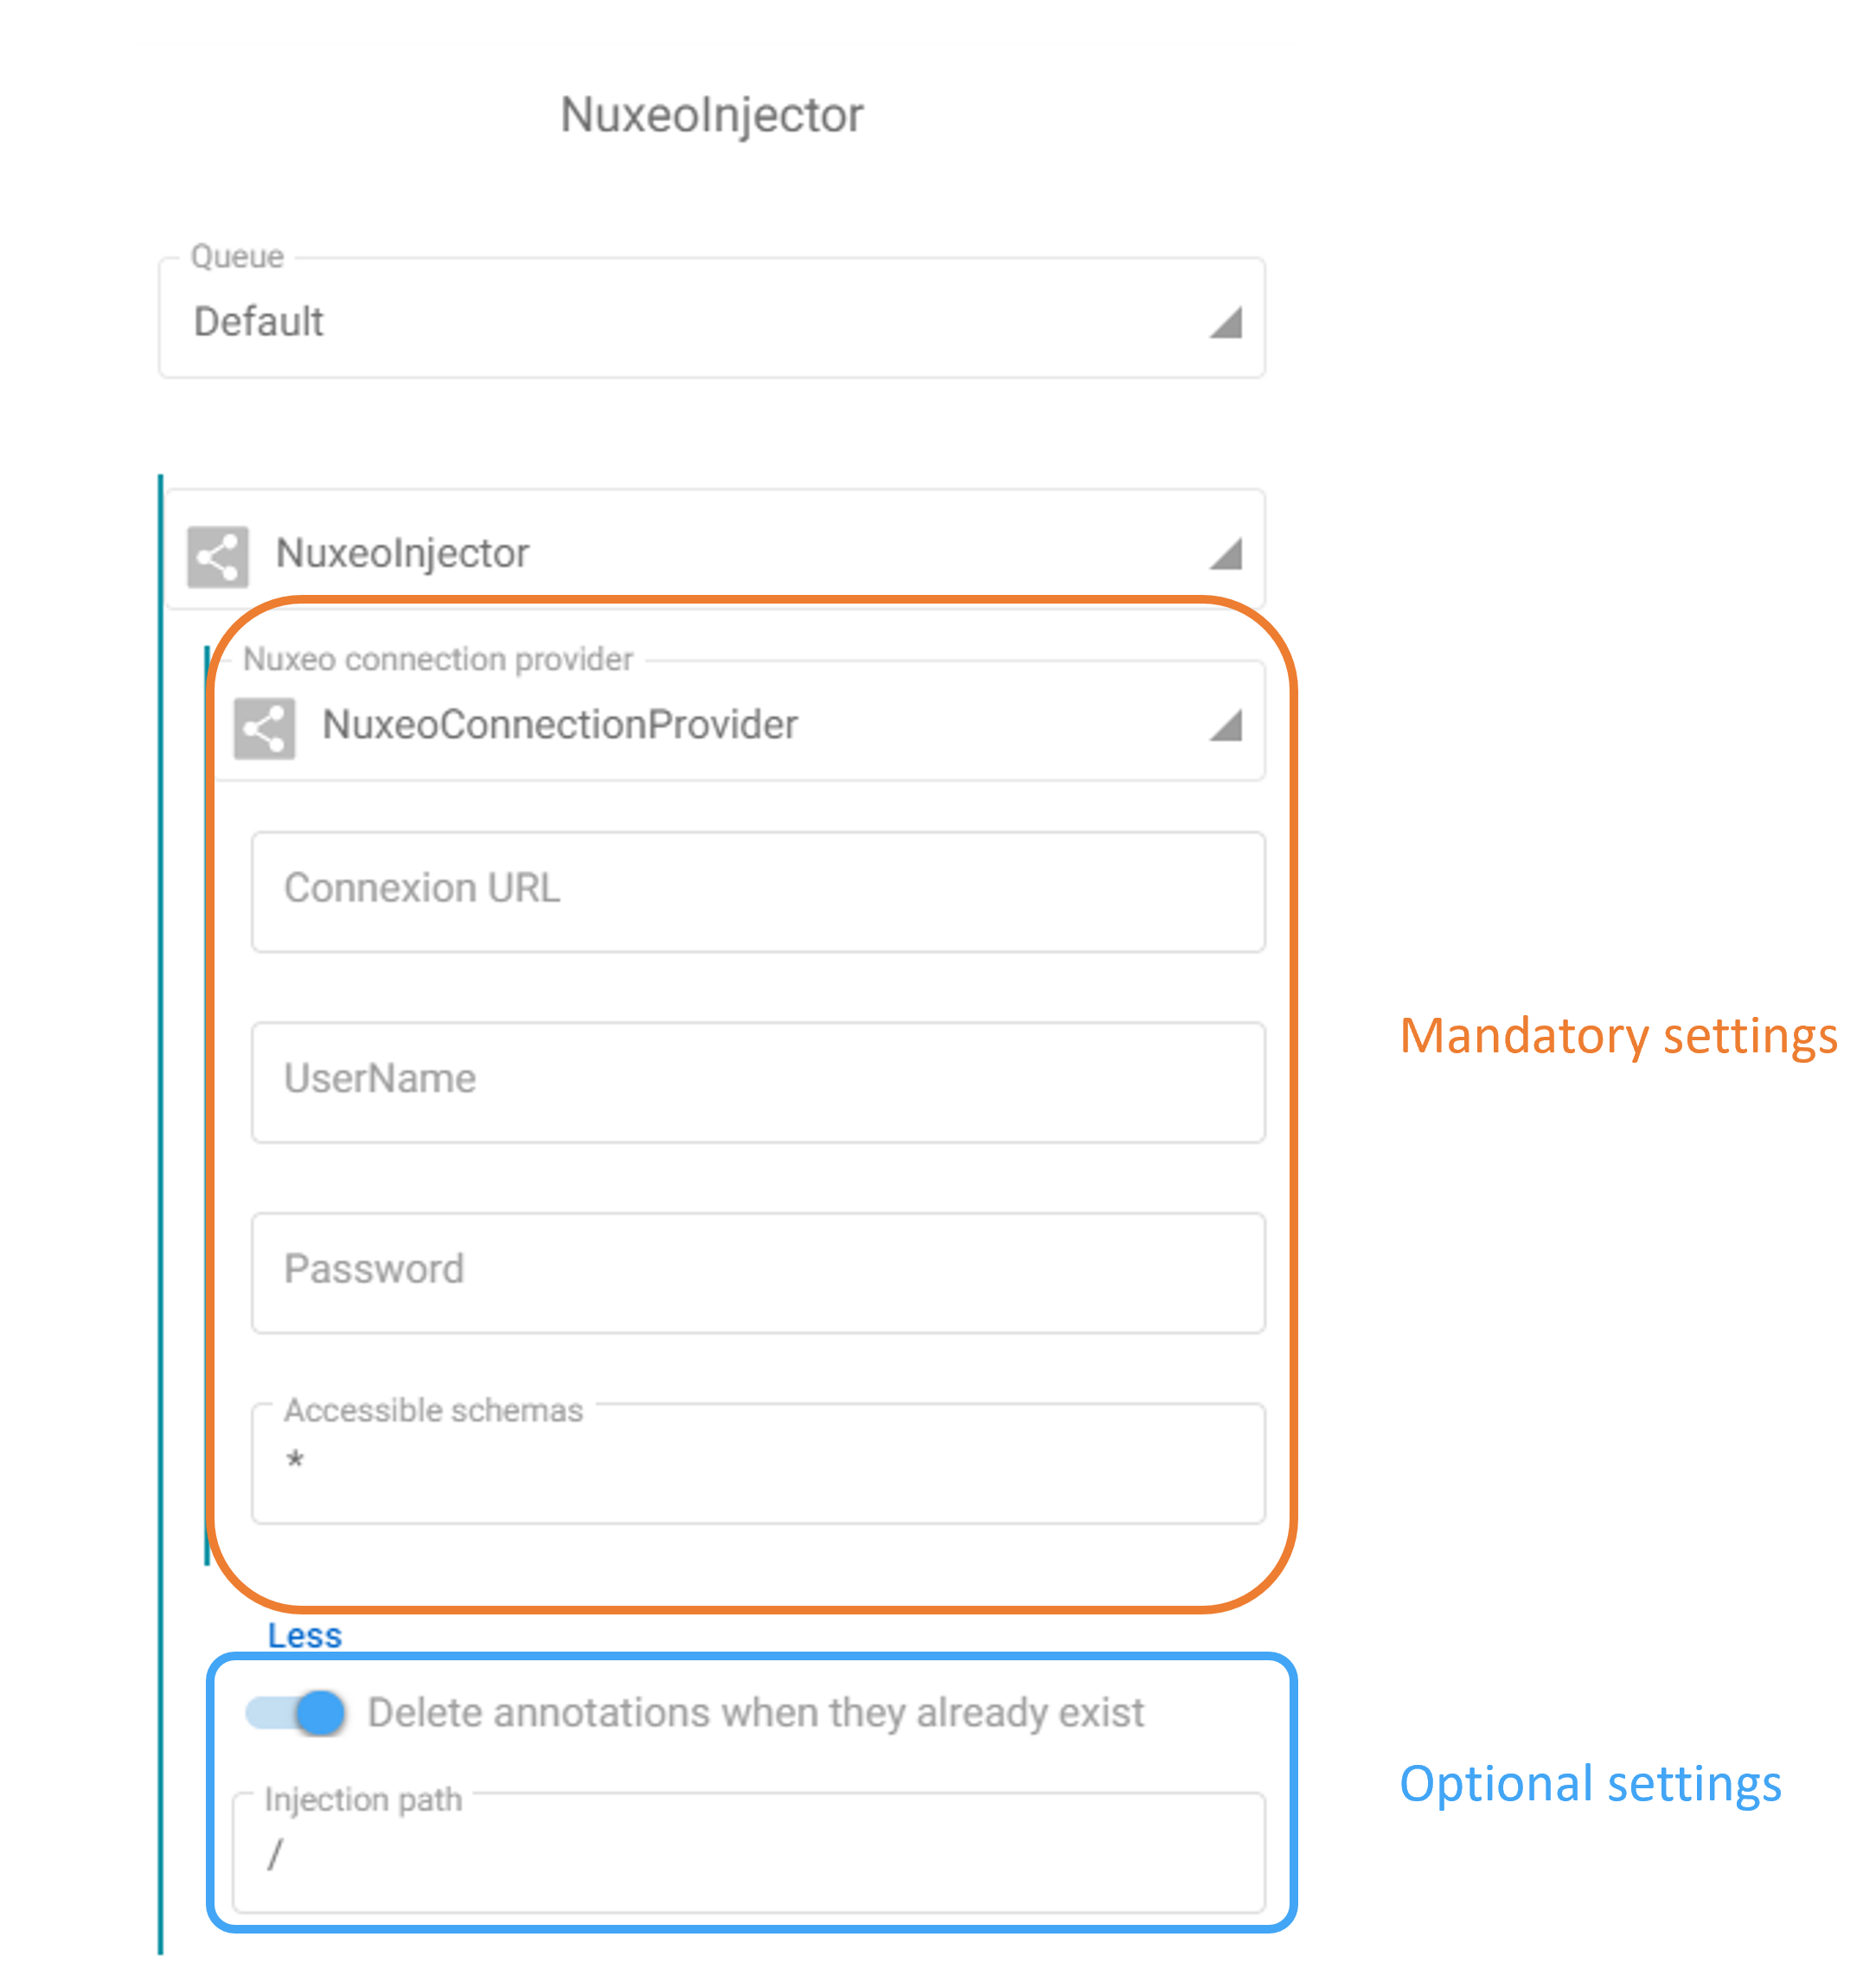
The default configuration try to access all the instance’s schema (*) but you can specify them depending on your needs.
In Nuxeo, a schema corresponds to a document type with all the related metadata. For example, the schema of a document is named “document”. It is represented by its prefix “dc” and has as metadata:
| name | Description |
|---|---|
| title | The document title |
| modified | The DateTime for the last modification |
| lastContributor | The username of the last contributor |
| expired | A DateTime of expiration |
| description | A description |
| creator | The username of the creator |
| created | The DateTime of the creation |
In the optional configuration, you can choose the root path of your injection : by default it’s the root of the file tree structure ('/').
Also, if you inject annotations to existing documents, you can decide to overwrite old annotations (it is the default behavior) or add annotations to the old ones with the switch button.
How does this work ?
Just like every other non-source task, the Nuxeo injector expected a punnet as entry variable. This punnet must has at least one document corresponding to the document you want to inject. Depending on what you want to inject, you can use this punnet to send :
-
A content file
-
A folder : with this folder you can precise the document injection path from the root path. The final location will be :
rootInjectionPath/folderPathwhererootInjectionPathis the injection path given in the task configuration, as a common prefix for all documentsfolderPathis the specific path of your document given in the list of document folders in the punnet
-
Metadata : they can be stored in the document and/or in the punnet itself. Both lists are will be considered.
Nuxeo metadata have a particular naming conventions, which goes like this:
schemaPrefix:dataName.If the injector finds a metadata (within either punnet or document dataset) named
nuxeoId, only annotations will be injected for this document. The value associated to this metadata should correspond to a Nuxeo document ID of your instance. -
Annotations : list of files with one annotation per file.
Use cases
1 - Injection of documents and their metadata
Here, we want to inject files into Nuxeo. The goal is to split documents storage in two folders : ‘Files’ and ‘Pictures’. Each document have a name to inject and some of them have a description metadata.
First step : Build the punnet
Our injection will be based on the following CSV. In it, there are 3 PDFs and 2 pictures files as document content (.content! specify the file location on the desktop). All of these documents will have a specific name. And for one picture and one PDF we will provide a description.
With this CSV as the map’s source, we will build 5 different punnets with one content each and their metadata.
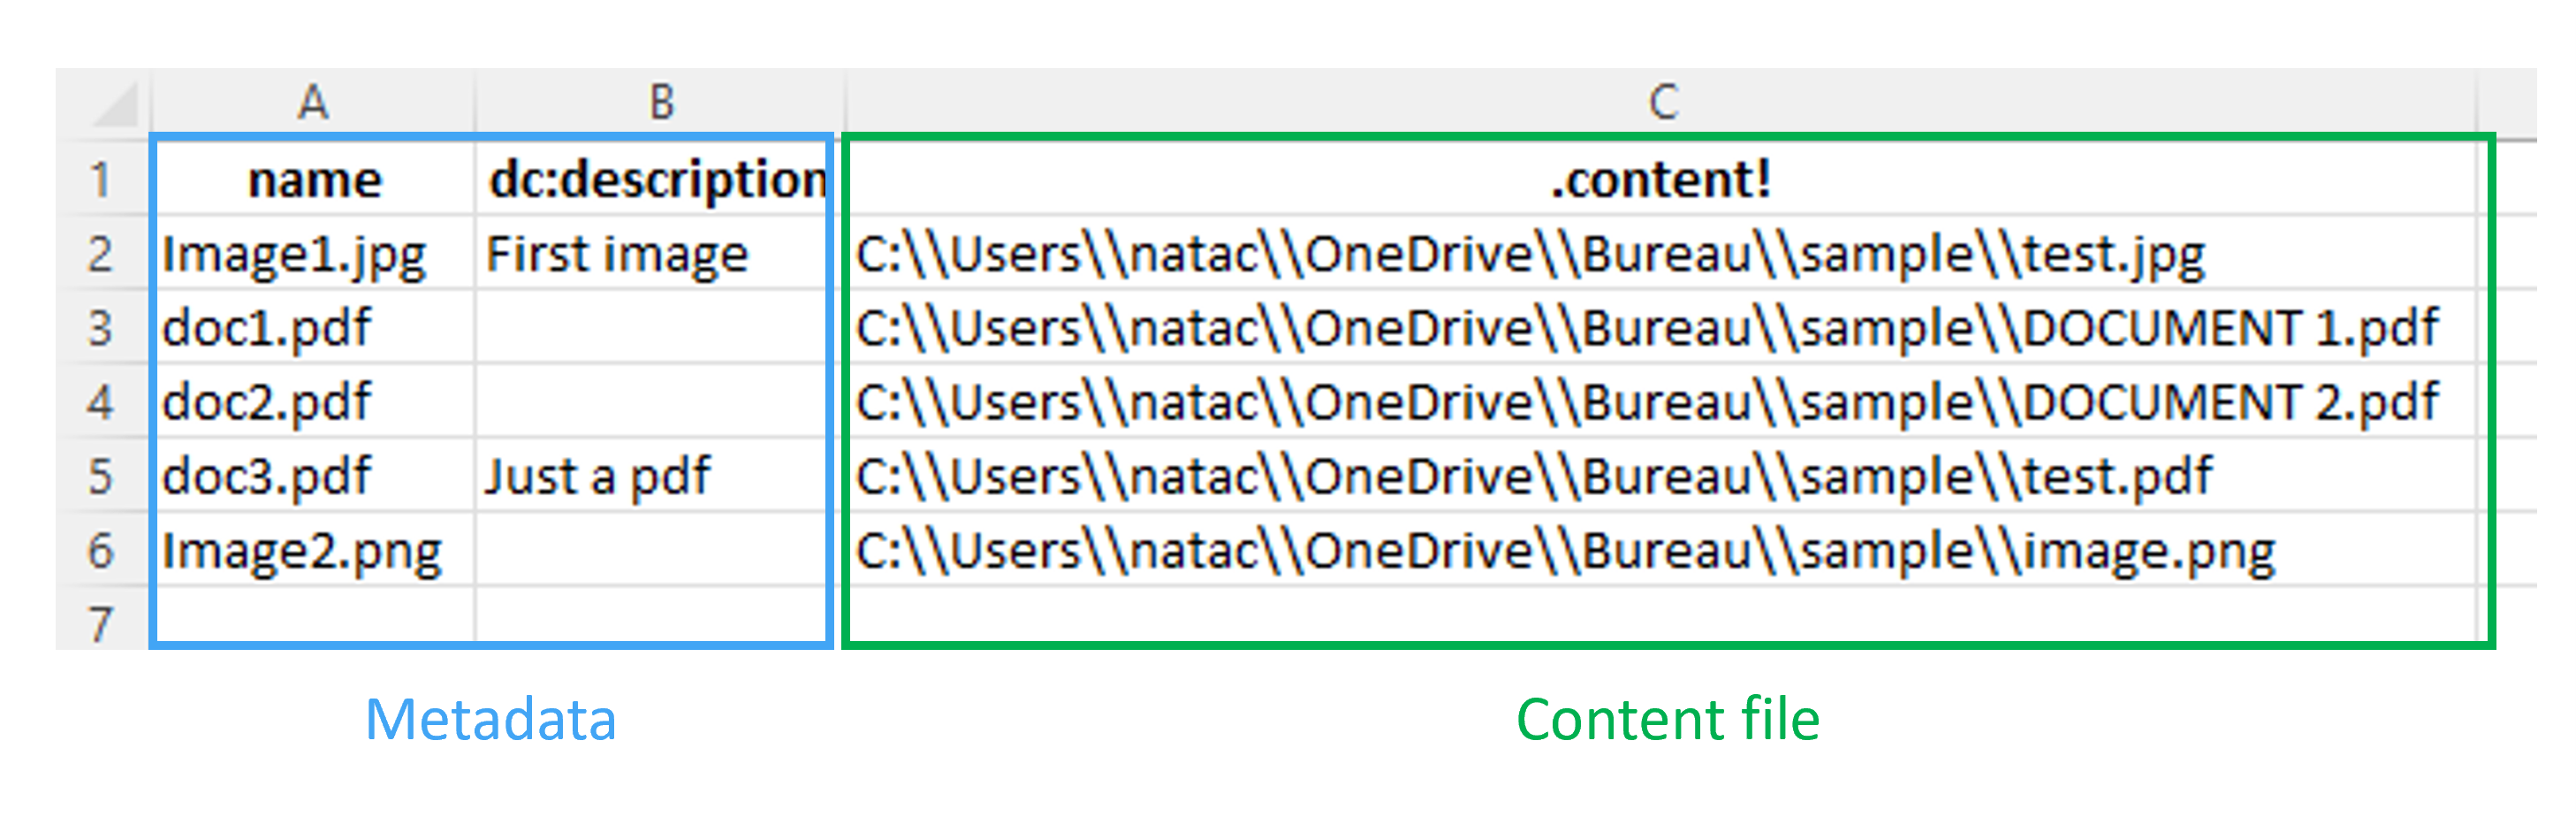
At the end of the migration we want to have the 3 PDFs on a folder ‘Files’ and the 2 pictures on a folder named ‘Pictures’. To do so, we will associate a folder to each punnet depending on their mimeType.
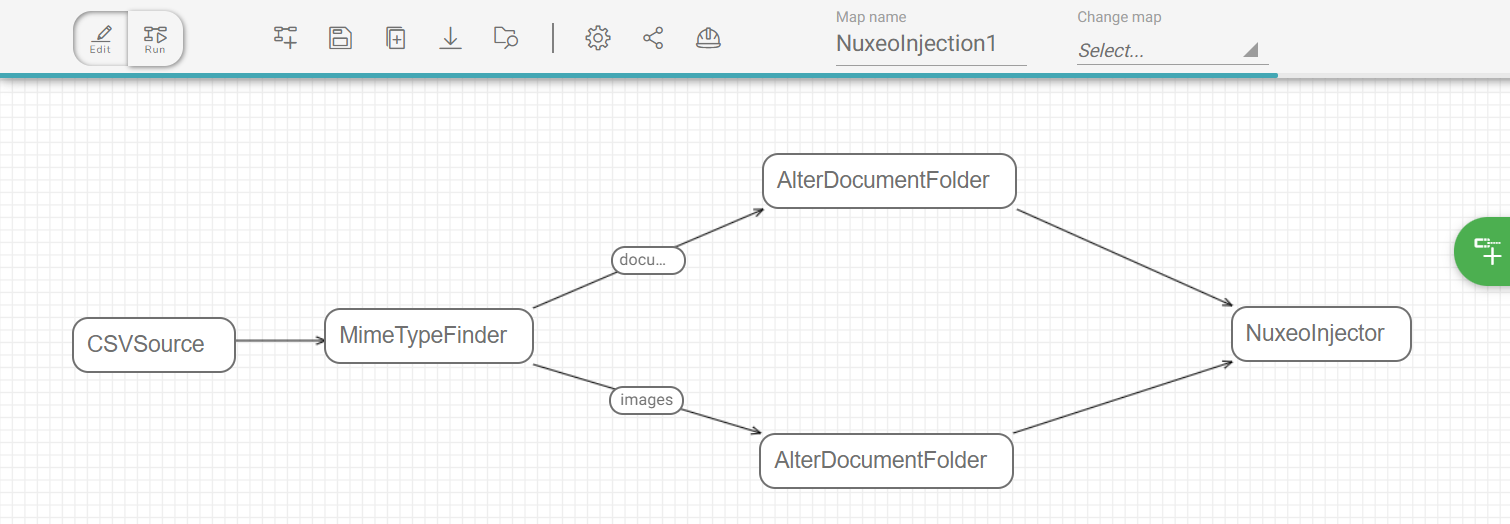
To split the behavior depending on this condition, first, we determine the mimeType of each document with the dedicated Fast2 task : mimeTypeFinder.
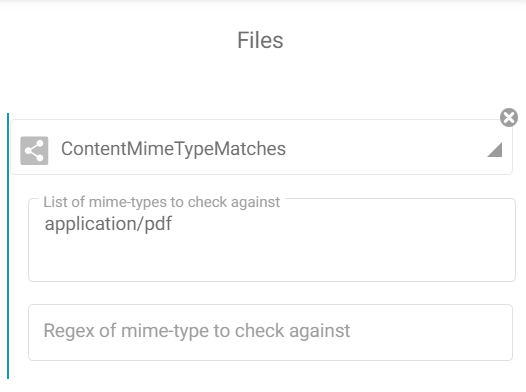
Then, we divide the workflow in two ways. For each, we apply a condition. In one hand, only pdf will pass through and on the other hand only JPEG and PNG will take the path.
The first condition will only let through punnets containing PDF.
The second condition will pass punnets containing JPEG or PNG.
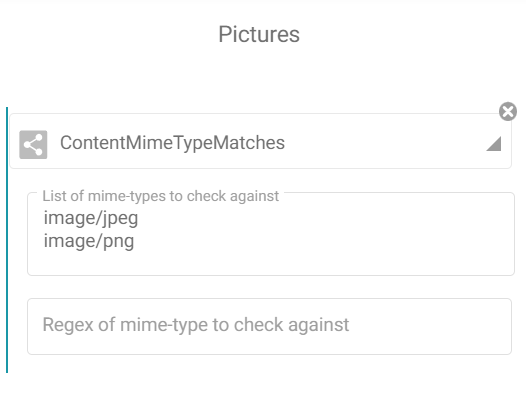
Pictures will be added to image files .
The final step to complete our map is the injection of these documents.
Second step : Nuxeo injector configuration
After building the map, we have to configure the injector task. First, we fill the connection settings with an access to an administrator account registered in an instance accessible on our localhost port 8080.
About the optional configuration we specify the root injection path of our Nuxeo instance as ‘/default-domain/workspaces/Fast2’ to reach a dedicated location to our migration.

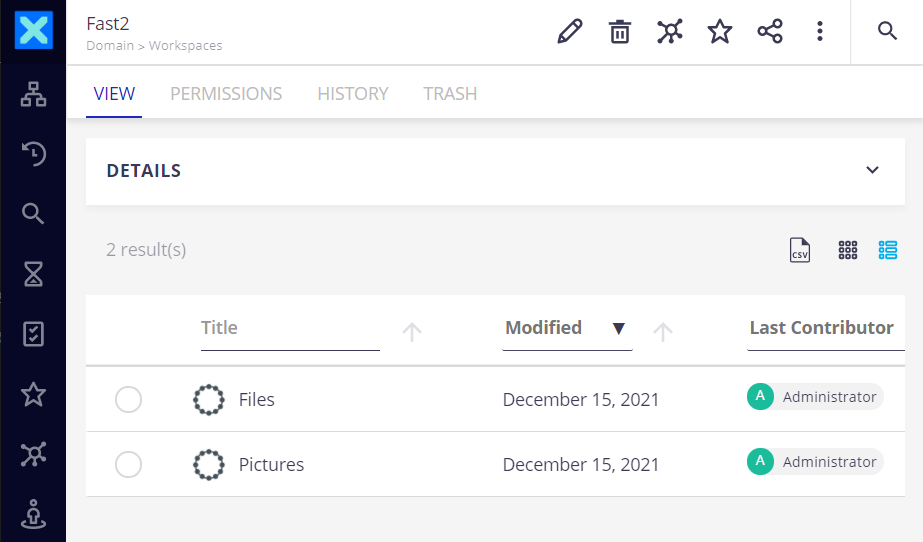
Results
After running the map we built, two folders were created. Inside either folder, the documents can be found depending on the mime-type.
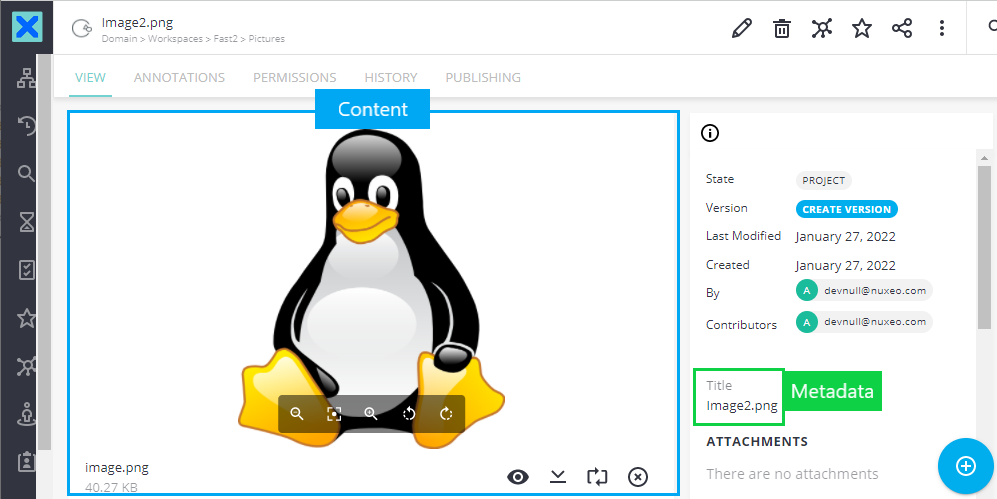
Now, looking closer at the documents, we see that both content and metadata were injected as expected.
2 - Migrate documents with annotation(s)
Map building
If you wish to visualize your documents and their annotations in Nuxeo, you can choose to embedded ARender in your instance, for this viewer supports rendering of XFDF-formatted annotations.
In this second use case, we will want to inject documents with their annotations to our Nuxeo instance which embedded Arender.
To do so, first, we will build punnets with a document and its annotation file(s) each. As the previous use case, we are going to migrate 5 documents. Two of them will have two annotations and the others will only have one.
We will use a csv file as source providing:
- The first annotation file as a content. (There is no way to add an annotation content to an existing punnet. So we create a punnet with the annotation content(s) as a document content. Later we will move it to the annotation content list. Finally, we add the real document content).
- A path to find the corresponding document and the second annotation content if needed.
- The document name.
- A value to know if there is a second annotation file to add or not.

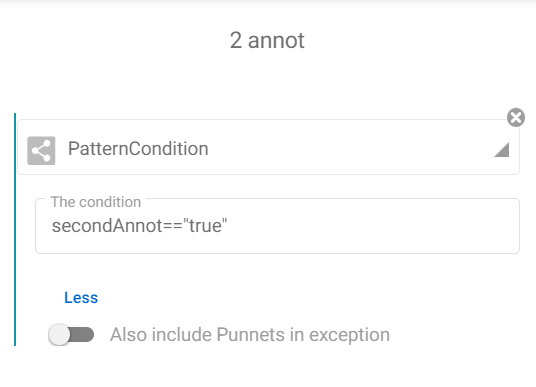
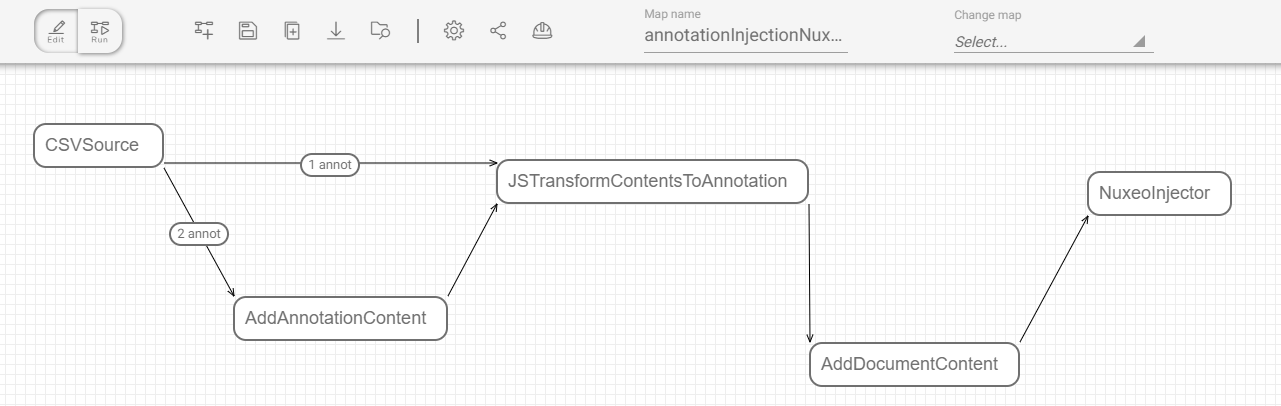
In the map, after the CSVSource task, we add a way for punnets which contain a document with two annotations. We add a condition for punnets to be divided depending on the metadata ‘secondAnnot’ value. For punnets which will use this way, we add a dedicated task to associate the corresponding annotation file (based on the ‘path’ metadata).
After that, all punnets will be processed to move their document contents to annotations content list with the following script (thanks to the JSTransform task).
punnet.getDocuments().forEach(function (doc) {
  doc.getContentSet().forEach(function (content) {
    doc.getAnnotationSet().addAnnotation(content);
  });
  doc.getContentSet().clear();
});
Finally we will add the document content to the punnet before injecting it to our Nuxeo instance.
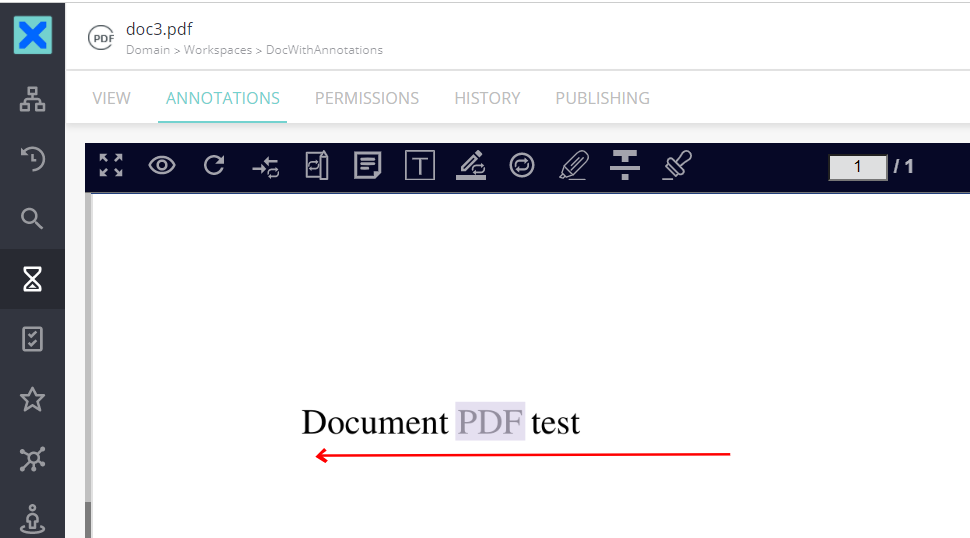
To configure the Nuxeo injector, we target the localhost port 8080 with an administrator account again. We choose to inject our documents in a dedicated location ‘/default-domain/workspaces/DocWithAnnotations’
Results
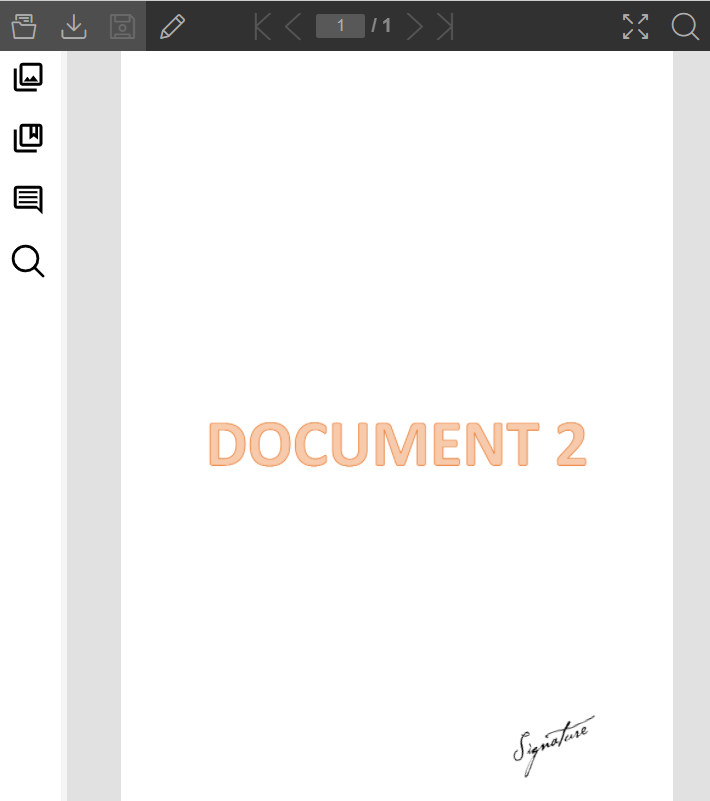
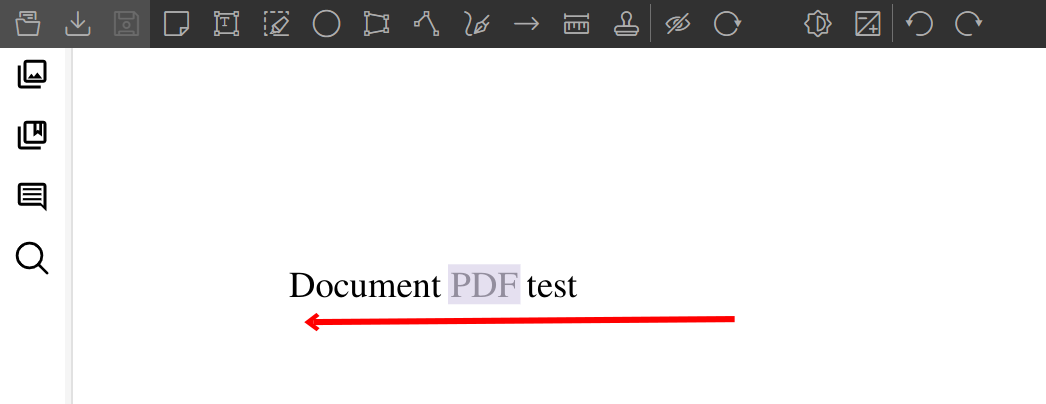
Document as it was in the source
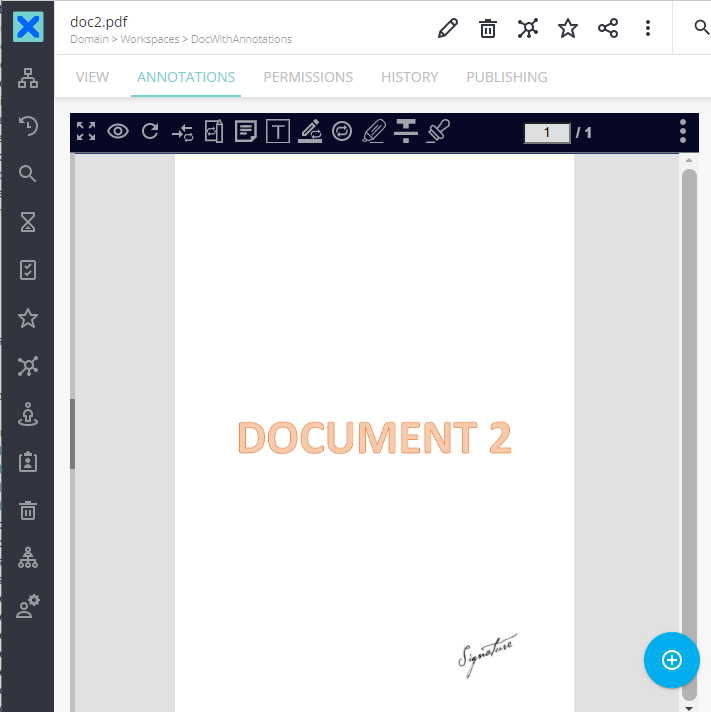
Document as it is in the destination
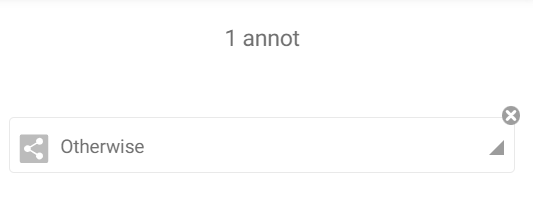
Annotations as they were in the source
Annotations as they are in the destination
Conclusion
The Fast2 Nuxeo injector will help you in your migrations to Nuxeo. It allows you to inject your documents with annotations or not. You have the possibility to choose the location of the ingestion and build the tree structure as you wanted. Finally, with the dedicated metadata, you can update your document annotations.
You will find the technical information about this connector here.